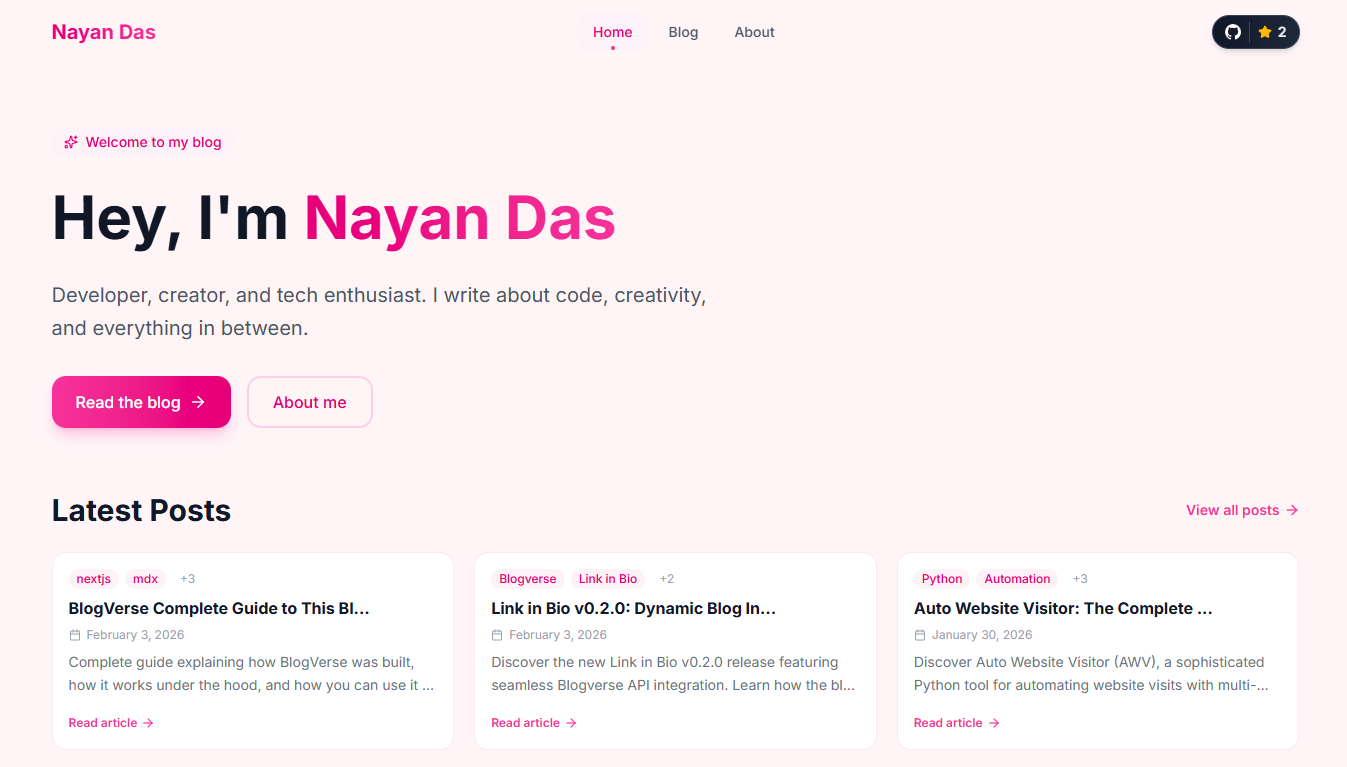
BlogVerse Complete Guide to This Blog
Complete guide explaining how BlogVerse was built, how it works under the hood, and how you can use it to create your own stunning blog.
Building BlogVerse: A Complete Guide
Welcome to the definitive guide for BlogVerse, a modern, elegant blog template built with Next.js 16, MDX, and Tailwind CSS. Whether you are a seasoned developer or just beginning your journey, this comprehensive walkthrough will equip you with everything you need to understand, deploy, and customise this project.
Getting Started
Prerequisites
Before proceeding, ensure you have the following installed on your system:
- Node.js (version 18.17 or higher)
- npm, yarn, pnpm, or bun as your package manager
- Git for version control
Installation
Clone the repository to your local machine using the following command:
git clone https://github.com/nayandas69/blogverse.git
Navigate into the project directory:
cd blogverse
Install the dependencies using your preferred package manager:
npm install
# or
yarn install
# or
pnpm install
# or
bun install
Start the development server:
npm run dev
# or
yarn dev
# or
pnpm dev
# or
bun dev
Open your browser and navigate to http://localhost:3000 to view your blog.
How BlogVerse Works
Content Management with MDX
BlogVerse utilises MDX (Markdown + JSX) for content authoring. This powerful combination allows you to write content in familiar Markdown syntax whilst embedding React components when interactivity is required.
All blog posts reside in the /content/blog directory as .mdx files. The system automatically discovers, parses, and renders these files without any additional configuration.
The Blog Engine
The core functionality resides in /lib/blog.ts. This module handles:
- File Discovery - Scanning the content directory for MDX files
- Frontmatter Parsing - Extracting metadata using the
gray-matterpackage - Sorting - Ordering posts by date (newest first)
- Filtering - Retrieving individual posts by slug
// Simplified example of how posts are fetched
export function getAllPosts(): PostMeta[] {
  const files = fs.readdirSync(POSTS_DIRECTORY)

  return files
    .filter(file => file.endsWith('.mdx'))
    .map(file => {
      const content = fs.readFileSync(
        path.join(POSTS_DIRECTORY, file),
        'utf-8'
      )
      const { data } = matter(content)
      return {
        slug: file.replace('.mdx', ''),
        frontmatter: data as PostFrontmatter
      }
    })
    .sort((a, b) =>
      new Date(b.frontmatter.date).getTime() -
      new Date(a.frontmatter.date).getTime()
    )
}
Server-Side Rendering
BlogVerse leverages Next.js 16's App Router with React Server Components. This architecture ensures:
- Optimal Performance - Pages render on the server, minimising client-side JavaScript
- Excellent SEO - Search engines receive fully-rendered HTML
- Fast Initial Load - Content appears immediately without hydration delays
Creating Blog Posts
Post Format
Each blog post requires a frontmatter section at the beginning of the file. This metadata controls how the post appears throughout the site.
Basic Post Template
Create a new file in /content/blog/ with the .mdx extension:
---
title: "Your Post Title"
date: "2026-01-30"
description: "A brief description for SEO and social sharing."
tags: ["tag1", "tag2", "tag3"]
cover: "/images/your-cover-image.png"
---

Your content begins here. Write in standard Markdown syntax.

## Section Heading

Continue writing your content...
Complete Frontmatter Reference
| Field | Required | Description |
|---|---|---|
title | Yes | The post title displayed on the page and in listings |
date | Yes | Publication date in YYYY-MM-DD format |
description | Yes | Brief summary for SEO meta tags and post previews |
tags | No | Array of relevant tags for categorisation |
cover | No | Path to cover image (relative to /public) |
updated | No | Last updated date in YYYY-MM-DD format |
Example with All Fields
---
title: "Mastering React Server Components"
date: "2026-01-15"
updated: "2026-01-28"
description: "An in-depth exploration of React Server Components and their impact on modern web development."
tags: ["react", "nextjs", "server-components", "performance"]
cover: "/images/rsc-cover.png"
---

# Mastering React Server Components

Your comprehensive content goes here...
Writing Content
BlogVerse supports standard Markdown syntax along with enhanced features:
Text Formatting
**Bold text** for emphasis
*Italic text* for subtle emphasis
~~Strikethrough~~ for corrections
`inline code` for technical terms
Headings
# Heading 1 (use sparingly, typically for title)
## Heading 2 (main sections)
### Heading 3 (subsections)
#### Heading 4 (minor sections)
Lists
- Unordered item one
- Unordered item two
  - Nested item

1. Ordered item one
2. Ordered item two
Code Blocks
Specify the language for syntax highlighting:
```javascript
function greet(name) {
  return `Hello, ${name}!`
}
```
Supported languages include: javascript, typescript, jsx, tsx, css, html, json, bash, python, and more.
Links and Images
[Link text](https://example.com)

Blockquotes
> This is a blockquote. Use it for notable quotations
> or to highlight important information.
Alert Components (GitHub-Style)
BlogVerse includes 9 custom alert components with automatic icons and color coding. These are perfect for highlighting important information, tips, warnings, and more throughout your posts.
Available Alert Types
All alert components have a consistent format with an icon, left border, colored background, and proper text hierarchy.
Note Component - [!NOTE]
Use this for general information and helpful context.
<Note>
This is important context that readers should know about the topic.
</Note>
Examples Look
This example highlights the use of the Note component for general information.
Icon: Info Circle (Blue)
Tip Component - [!TIP]
Use this for helpful hints and best practices.
<Tip>
You can optimize your MDX content by reusing components across multiple posts.
</Tip>
Examples Look
This example demonstrates the Tip component for sharing useful advice.
Icon: Lightbulb (Yellow)
Important Component - [!IMPORTANT]
Use this for critical instructions and key requirements.
<Important>
Always run \`npm install\` after cloning the repository to ensure all dependencies are installed.
</Important>
Examples Look
This example showcases the Important component for emphasizing crucial information.
Icon: Zap/Lightning (Purple)
Caution Component - [!CAUTION]
Use this for warnings about potential issues or side effects.
<Caution>
Modifying the build configuration can break your application if done incorrectly.
</Caution>
Examples Look
This example illustrates the Caution component for alerting readers to potential problems.
Icon: Alert Triangle (Orange)
Warning Component - [!WARNING]
Use this for significant warnings about risks and dangers.
<Warning>
Never commit sensitive data like API keys to version control. Use environment variables instead.
</Warning>
Examples Look
This example highlights the Warning component for serious alerts.
Icon: Alert Circle (Red)
Question Component - [!QUESTION]
Use this to prompt readers with questions or thought exercises.
<Question>
How would you implement this feature differently using React hooks instead of server components?
</Question>
Examples Look
This example demonstrates the Question component for engaging readers with prompts.
Icon: Help Circle (Cyan)
Success Component - [!SUCCESS]
Use this to highlight positive outcomes and completed tasks.
<Success>
Your blog is now live and accessible to the world! Congratulations on your deployment.
</Success>
Examples Look
This example showcases the Success component for celebrating achievements.
Icon: Check Circle (Green)
Danger Component - [!DANGER]
Use this for critical alerts and dangerous operations.
<Danger>
This action will permanently delete all your blog posts. This operation cannot be undone.
</Danger>
Examples Look
This example illustrates the Danger component for urgent warnings.
Icon: Alert Octagon (Dark Red)
Info Component - [!INFO]
Use this for general informational blocks (alternative to Note).
<Info>
The FaceNet512 model weights are automatically downloaded on first use (~90MB).
</Info>
Examples Look
This example demonstrates the Info component for sharing informational content.
Icon: Info Circle (Light Blue)
Alert Component Reference Table
| Component | Icon | Color | Use Case |
|---|---|---|---|
<Note> | Info Circle | Blue | General information |
<Tip> | Lightbulb | Yellow | Helpful hints |
<Important> | Zap | Purple | Critical instructions |
<Caution> | Alert Triangle | Orange | Potential issues |
<Warning> | Alert Circle | Red | Risk warnings |
<Question> | Help Circle | Cyan | Questions/exercises |
<Success> | Check Circle | Green | Positive outcomes |
<Danger> | Alert Octagon | Dark Red | Critical alerts |
<Info> | Info Circle | Light Blue | Informational blocks |
API Documentation
BlogVerse includes a comprehensive REST API for programmatically accessing your blog content. The API is located at /api/v1 and provides multiple endpoints for fetching posts, tags, and statistics.
API Base URL
https://blogverse-five-omega.vercel.app/api/v1
Authentication
No authentication is required. The API is public and CORS-enabled for cross-origin requests.
Response Format
All successful responses follow this format:
{
  "success": true,
  "data": {},
  "message": "Success message",
  "timestamp": "2026-01-30T12:00:00Z"
}
Error responses:
{
  "success": false,
  "error": {
    "code": 400,
    "message": "Error message",
    "details": "Additional error details"
  },
  "timestamp": "2026-01-30T12:00:00Z"
}
Endpoints
Get All Posts
Retrieve all blog posts with pagination support.
GET /api/v1/posts?page=1&limit=10
Query Parameters:
page(optional) - Page number (default: 1)limit(optional) - Posts per page (default: 10, max: 100)
Example Request:
fetch('https://blogverse-five-omega.vercel.app/api/v1/posts?page=1&limit=10')
  .then(res => res.json())
  .then(data => console.log(data.data.posts))
Response:
{
  "success": true,
  "data": {
    "posts": [
      {
        "slug": "hello-world",
        "frontmatter": {
          "title": "Hello World",
          "date": "2026-01-30",
          "description": "My first blog post",
          "tags": ["tutorial"]
        },
        "excerpt": "My first blog post...",
        "readingTime": 5
      }
    ],
    "pagination": {
      "currentPage": 1,
      "pageSize": 10,
      "totalPages": 2,
      "totalPosts": 15,
      "hasNextPage": true,
      "hasPreviousPage": false
    }
  }
}
Get Recent Posts
Retrieve the most recent blog posts.
GET /api/v1/posts/recent?limit=5
Query Parameters:
limit(optional) - Number of recent posts (default: 5, max: 50)
Example Request:
fetch('https://blogverse-five-omega.vercel.app/api/v1/posts/recent?limit=5')
  .then(res => res.json())
  .then(data => console.log(data.data))
Response:
{
  "success": true,
  "data": [
    {
      "slug": "latest-post",
      "frontmatter": {
        "title": "Latest Post",
        "date": "2026-01-30",
        "description": "My newest blog post"
      },
      "excerpt": "Latest post content...",
      "readingTime": 8
    }
  ]
}
Get Post by Slug
Retrieve a specific post with full content.
GET /api/v1/posts/:slug
Example Request:
fetch('https://blogverse-five-omega.vercel.app/api/v1/posts/hello-world')
  .then(res => res.json())
  .then(data => console.log(data.data))
Response:
{
  "success": true,
  "data": {
    "slug": "hello-world",
    "frontmatter": {
      "title": "Hello World",
      "date": "2026-01-30",
      "description": "My first blog post",
      "tags": ["tutorial"],
      "cover": "/images/cover.png"
    },
    "content": "# Hello World\n\nThis is my first post...",
    "excerpt": "My first blog post...",
    "readingTime": 5
  }
}
Get Posts by Tag
Retrieve posts filtered by a specific tag with pagination.
GET /api/v1/posts/tag/:tag?page=1&limit=10
Query Parameters:
page(optional) - Page number (default: 1)limit(optional) - Posts per page (default: 10, max: 100)
Example Request:
fetch('https://blogverse-five-omega.vercel.app/api/v1/posts/tag/react?page=1&limit=10')
  .then(res => res.json())
  .then(data => console.log(data.data.posts))
Get All Tags
Retrieve all available tags across your blog.
GET /api/v1/tags?count=true
Query Parameters:
count(optional) - Include post count per tag (true/false, default: false)
Example Request:
fetch('https://blogverse-five-omega.vercel.app/api/v1/tags?count=true')
  .then(res => res.json())
  .then(data => console.log(data.data.tags))
Response with counts:
{
  "success": true,
  "data": {
    "tags": [
      { "name": "react", "count": 5 },
      { "name": "nextjs", "count": 8 },
      { "name": "tutorial", "count": 3 }
    ],
    "total": 3
  }
}
Get Blog Statistics
Retrieve overall statistics about your blog.
GET /api/v1/stats
Example Request:
fetch('https://blogverse-five-omega.vercel.app/api/v1/stats')
  .then(res => res.json())
  .then(data => console.log(data.data))
Response:
{
  "success": true,
  "data": {
    "totalPosts": 15,
    "totalTags": 8,
    "totalReadingTime": 120,
    "averageReadingTime": 8
  }
}
Usage Examples
Building a Blog Homepage
// Fetch 5 recent posts for homepage
const response = await fetch('https://blogverse-five-omega.vercel.app/api/v1/posts/recent?limit=5')
const { data } = await response.json()

// Display recent posts
data.forEach(post => {
  console.log(\`\${post.frontmatter.title} - \${post.readingTime} min read\`)
})
Creating a Tag Archive Page
// Get all tags with post counts
const response = await fetch('https://blogverse-five-omega.vercel.app/api/v1/tags?count=true')
const { data } = await response.json()

// Display tags sorted by post count
const sorted = data.tags.sort((a, b) => b.count - a.count)
sorted.forEach(tag => {
  console.log(\`\${tag.name} (\${tag.count} posts)\`)
})
Integrating with Third-Party Services
// Use API for external widgets or dashboards
const stats = await fetch('https://blogverse-five-omega.vercel.app/api/v1/stats').then(r => r.json())

// Display on dashboard
console.log(\`Total posts: \${stats.data.totalPosts}\`)
console.log(\`Average reading time: \${stats.data.averageReadingTime} minutes\`)
Caching
The API implements intelligent caching to optimize performance:
- Root endpoint (
/api/v1) - No cache (always fresh) - Posts endpoint (
/posts) - Cached for 1 hour - Recent posts (
/posts/recent) - Cached for 30 minutes - Tags endpoint (
/tags) - Cached for 2 hours
All responses include Cache-Control headers. For the best user experience, respect these headers in your client applications.
Customisation
Changing Site Information
Update the site metadata in /app/layout.tsx:
export const metadata: Metadata = {
  title: 'Your Name',
  description: 'Your site description',
  // Additional metadata...
}
Modifying the Theme
The colour scheme is defined in /app/globals.css using CSS custom properties:
:root {
  --Background: #FFF5F7;
  --Surface: #FFFFFF;
  --Text-main: #1A1A2E;
  --Text-mute: #6B7280;
  --Border: #F9D5E5;
  --Accent: #EC4899;
}
Adjust these values to create your unique colour palette.
Updating Navigation
Edit the navigation links in /components/header.tsx:
const navItems = [
  { label: 'Home', path: '/' },
  { label: 'Blog', path: '/blog' },
  { label: 'About', path: '/about' },
  // Add or modify links as needed
]
Configuring Social Links
Update the footer social links in /components/footer.tsx with your profiles.
Deployment
Deploying to Vercel
The simplest deployment method is through Vercel:
- Push your code to a GitHub repository
- Visit vercel.com and sign in
- Click "New Project" and import your repository
- Vercel will automatically detect Next.js and configure the build
- Click "Deploy"
Your site will be live within minutes with automatic HTTPS and global CDN distribution.
Building for Production
To create an optimised production build locally:
npm run build
To preview the production build:
npm run start
Features Overview
Automatic Features
- RSS Feed - Available at
/rss.xmlfor feed readers - SEO Optimisation - Meta tags generated from frontmatter
- Responsive Design - Adapts seamlessly to all screen sizes
- Syntax Highlighting - Custom tokeniser for code blocks
- Scroll Animations - Elegant reveal effects as you scroll
Technical Highlights
- Next.js 16 - Latest framework features and optimisations
- React Server Components - Efficient server-side rendering
- Tailwind CSS v4 - Modern utility-first styling
- TypeScript - Full type safety throughout
- MDX - Powerful content authoring
Troubleshooting
Common Issues
Posts not appearing?
- Ensure the file has the
.mdxextension - Verify the frontmatter syntax (check for missing colons or quotes)
- Confirm the
datefield usesYYYY-MM-DDformat
Styles not loading?
- Run
npm installto ensure dependencies are installed - Clear the
.nextcache folder and restart the development server
Build errors?
- Check for TypeScript errors in your custom components
- Verify all imported modules exist
Contributing
BlogVerse is open source and welcomes contributions. Visit the GitHub repository to:
- Report issues
- Suggest features
- Submit pull requests
Please adhere to the existing code style and include tests for new features. BlogVerse provides a robust foundation for your personal blog or portfolio. With its clean architecture, powerful MDX support, and elegant design, you can focus on what matters most: creating exceptional content.
Clone the repository, customise it to your preferences, and start sharing your ideas with the world. Should you encounter any difficulties or have suggestions for improvement, do not hesitate to reach out through GitHub.
Happy blogging!
More Posts
Building My Developer Portfolio wit...
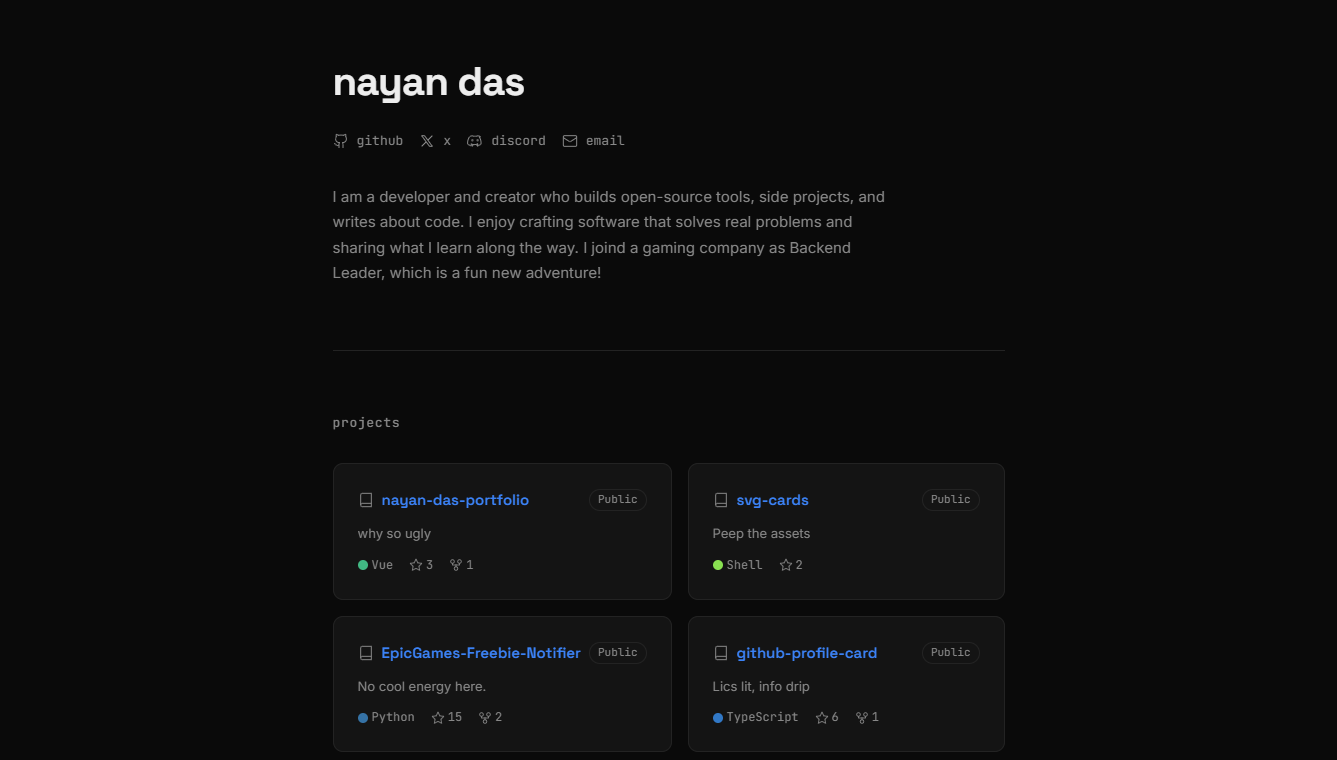
How I built my personal developer portfolio from scratch using Nuxt 4, Vue 3, SCSS design tokens, the GitHub REST API, and the Blogverse API — with full SSR, unit testing, and Vercel deployment.

Git and GitHub: From Confusion to M...
Master Git and GitHub from first principles. Learn version control, collaboration workflows, and real-world practices that professional developers actually use every day.
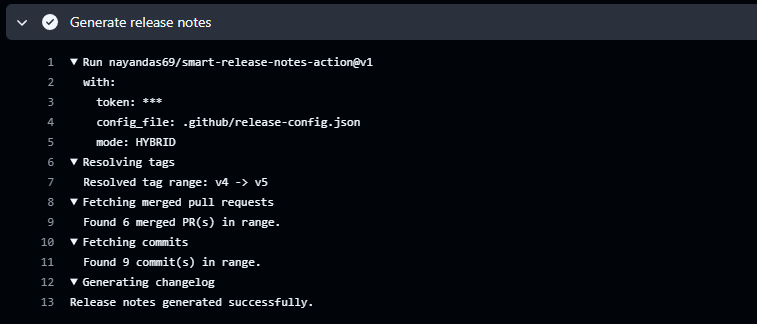
Automating Release Notes Like a Pro...
Discover how to automatically generate clean, categorized release notes directly from your GitHub PRs and commits using Smart Release Notes Action. Learn setup, configuration, and best practices for seamless release automation.